Sometimes you just need to collect information on your blog users. Collecting information can help you appeal to your visitors, the more you know, the more you can cater to them. The standard Wordpress registration simply collects username and email. How about offering your users the ability the set their own password upon sign up? Enter Register-Plus and it’s sister app Pie-Register. It’s my understanding that Register-Plus is no longer being updated and Pie-Register is the new version. For that reason, I’m going to focus on Pie-Register here, though in my experience, both plug ins seem identical.
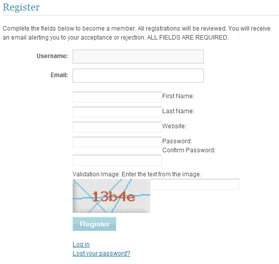
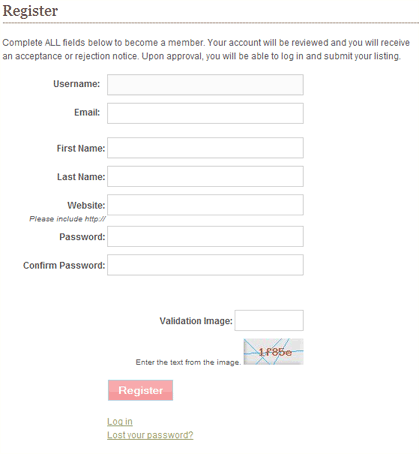
 Download and install is fairly easy, as well as setting up the needed fields. I covered a lot of that in a previous post. Today we’re going to focus on matching up Pie-Register’s form fields with WP’s standard form fields. On initial install, you’ll find that the form field is on the left and the label is on the right. Standard forms are opposite that and now is not the time to break from standard and confuse your registrants!
The problem lies in the form set up in the file pie-register.php. You’re going to need an editor, I recommend Notepad++. You could use the Wordpress built in editor, but it doesn’t show you line numbers. In that case, you’ll need to search to find the correct area to edit. A great editor will help you immensely for this part.
Open the file in your favorite editor and find the coding for the form. The form begins around line 1254. You’ll need to know a bit about form structure. Each form field should have a label and then it’s field.
Bad code:
[php] <div style="clear:both"><label><?php _e(‘First Name:’, ‘piereg’);?> <p><br /><br />
<input autocomplete="off" name="firstname" id="firstname" size="25" value="<?php echo $_POST[‘firstname’];?>" type="text" tabindex="30" /></p></label><br /><br />
</div>[/php]
Good code:
[php] <div style="clear:both"><label><?php _e(‘First Name:’, ‘piereg’);?></label> <br /><br />
<input autocomplete="off" name="firstname" id="firstname" size="25" value="<?php echo $_POST[‘firstname’];?>" type="text" tabindex="30" class="formfield" /><br /><br />
</div>[/php]
All I’ve done is move the </label> up where it should be, closing the label name. Then we remove the <p> and </p>, no need for paragraphs in a form. The final step is adding a class to the form field, class=”formfield” in this case, so we can style it as needed. In your css file, you can now add declarations for .formfield to get the styling that you need. You’ll need to do this for each form field in the file. In the end, you’ll be left with a registration form that looks nice and fits your website perfectly.


